Kali Linux OS installation on VirtualBox
Kali Linux OS installation on VirtualBox
Download and
Installation of VirtualBox
Download
Oracle VirtualBox in your PC.
Step 1:
Search for “download VirtualBox for windows”

Step 2:

Step 3:

Step 4:

Installation of KALI
Linux on VirtualBox
Step 1:
Download Kali Linux

There are
many versions of Kali Linux which you can download.

Click on
Virtual Machines and then according to your operating system’s architecture, Choose
either 32-bit (x86) or 64-bit (x64). Then download the VirtualBox file.
Open the
first link called “Get Kali” and Click on virtual machine.

The ova
file will then be downloaded.
Step 2:
Installation of Kali Linux on VirtualBox.
Open the
file location where you downloaded the ova file of Kali Linux. Open the ova
file.

When prompted “How do you want to open this file?”, click on VirtualBox Manager.

The
VirtualBox opens and automatically opens up a dialog to import the Virtual
Appliance. After checking the settings, click on “Import”.

The
importing takes a few minutes to complete.

After completion of import process, the Kali Linux image shows up on virtual machine menu.

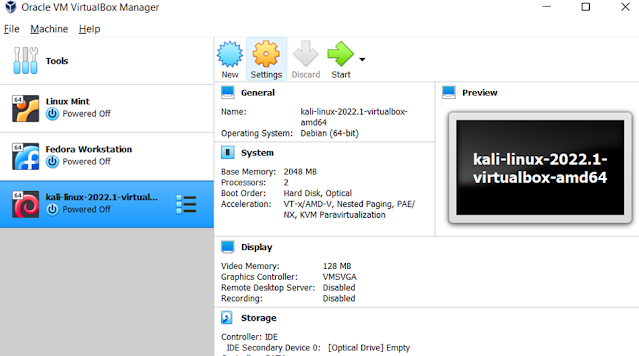
Associate the
base memory (RAM) according to your system specification for better performance.
The Host also needs base memory so its recommended to associate only half of
the total base memory available. Then click on “ok”

Open the Kali Linux system by double clicking it or by clicking start.


The default
username and password is "kali".

You can now
see the Desktop window. You can now access the applications of the Virtual
Machine.

Your Virtual
Machine is all set to go.
Congratulations! The installation
process of Kali Linux on Virtual Machine is completed.


Comments
Post a Comment